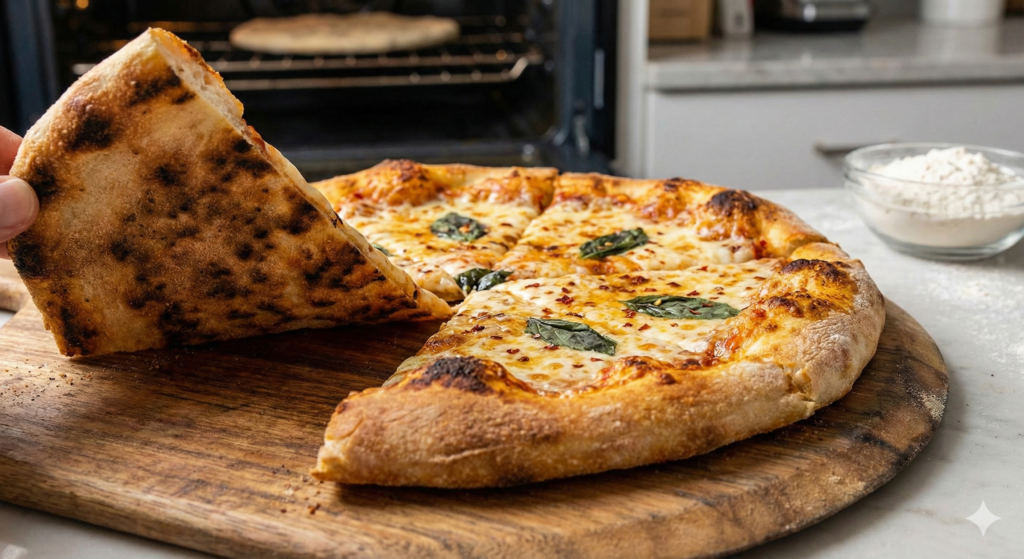
There is nothing quite as disappointing as pulling a beautiful pizza out of the oven, slicing into it, and realizing the bottom is floppy and soft. You’ve spent time maintaining your starter and mixing your dough, so you deserve a base that has a satisfying snap, not a sad fold. While sourdough discard adds incredible depth of flavor, its texture can sometimes be tricky to master in a standard home oven compared to a commercial deck oven.
If you are struggling with soggy bottoms, don’t worry—you don’t need a wood-fired brick oven to fix it. The solution usually comes down to heat management, equipment choice, and moisture control. Whether you are using our faithful sourdough discard pizza dough recipe or experimenting with your own ratios, achieving that shatteringly crisp texture is entirely possible. In this masterclass, we will break down exactly how to get a crispy sourdough discard pizza crust so you never have to eat a gummy slice again.
The Science of the Crunch: Why It Fails & How It Works
Before we fix the problem, we need to understand the chemistry happening inside your oven. Sourdough discard is naturally acidic and often leads to high-hydration dough. While hydration is excellent for creating an open, airy crumb structure, it is the enemy of a crispy base if that water doesn’t evaporate quickly enough.
The Maillard Reaction
To get that golden-brown, crispy exterior, you are chasing the Maillard reaction. This is a chemical reaction between amino acids and reducing sugars that gives browned food its distinctive flavor and crust. Sourdough discard actually helps here! The spent yeast and bacteria in your discard have broken down starches into sugars. These sugars caramelize under heat, aiding in browning. However, if the dough is too wet or the oven too cool, the water turns to steam and prevents the surface temperature from getting high enough for this reaction to occur.
The Hydration Balancing Act
Most home ovens max out at 500°F or 550°F, whereas professional ovens reach 900°F. If you bake a wet dough at a standard 375°F, you aren’t baking it; you are slowly drying it out. This results in a crust that is hard and tough (like leather) rather than crispy and brittle (like a cracker). We need steam evaporation to happen rapidly, “setting” the structure of the dough before the toppings weigh it down.
Equipment Deep Dive: Choosing Your Weapon
You cannot rely on a standard aluminum baking sheet (cookie sheet) if you want artisan results. Thin aluminum loses heat the moment cold dough touches it. To get a crispy crust, you need a vessel with significant thermal mass—the ability to absorb, store, and release intense heat.
Here is how the three most common tools compare:
1. The Baking Steel (Best for Crunch)
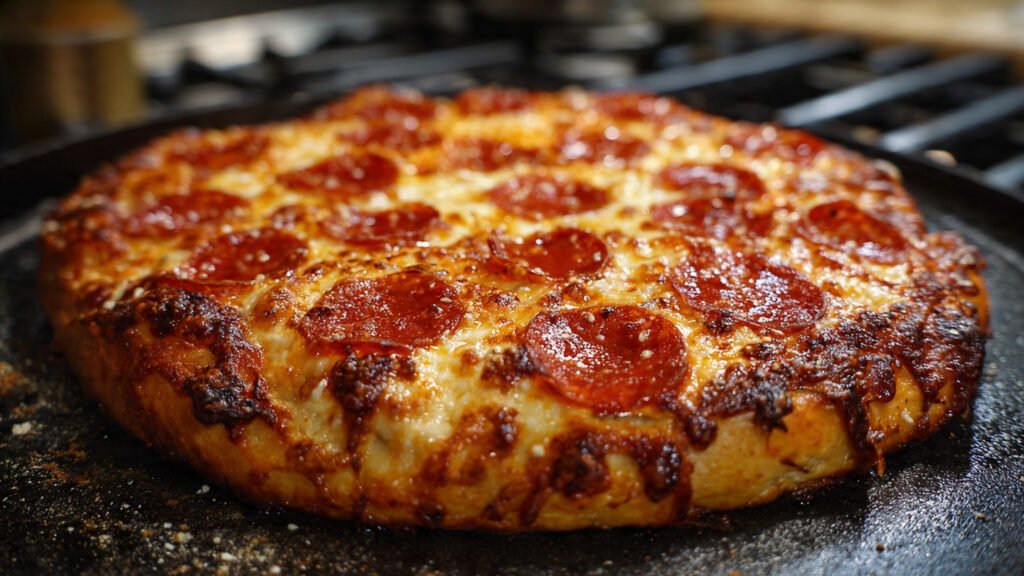
If you are serious about pizza, a baking steel is the gold standard. Steel is a conductive material, meaning it transfers energy (heat) into your dough much faster than stone or ceramic. When your dough hits a 500°F steel, the transfer of energy is immediate and violent, causing the gases in the dough to expand instantly. This creates a superior “oven spring” and a charred, leopard-spotted bottom that stays crispy.
2. The Pizza Stone (The Classic Choice)
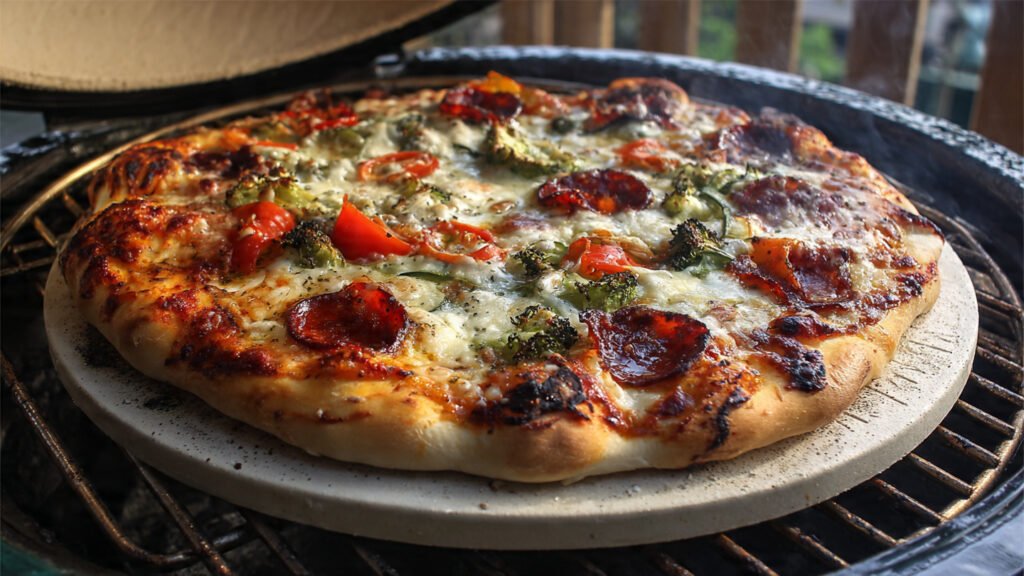
Ceramic or cordierite pizza stones are excellent for retaining heat. They mimic the floor of a brick oven. They are generally more affordable than steels and work very well for sourdough. However, because stone is less conductive than steel, you may need to bake the pizza slightly longer to achieve the same level of crispiness. Tip: Never wash a porous stone with soap, as it will absorb the flavor.
3. The Cast Iron Skillet (The Best Hack)
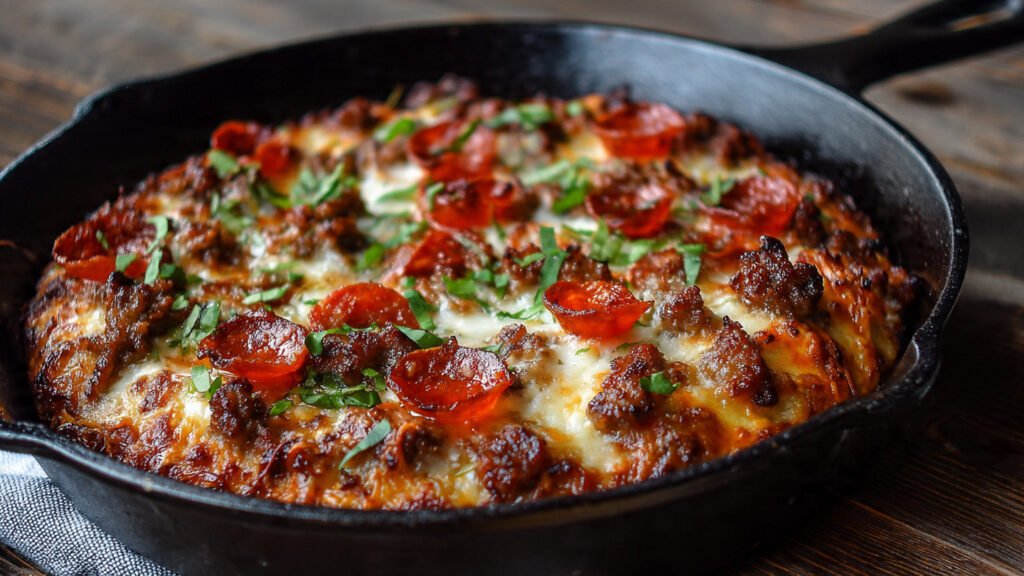
Don’t have a stone or steel? You likely have a cast iron skillet. Cast iron has incredible thermal mass. You can make a pan pizza inside it, but for a classic thin crust, try the inverted method. Flip your largest cast iron skillet upside down on the rack and preheat it. You now have a mini, round baking steel. The rough texture of the iron allows airflow under the dough, which can actually aid in crisping.
Moisture Management: The Role of Toppings
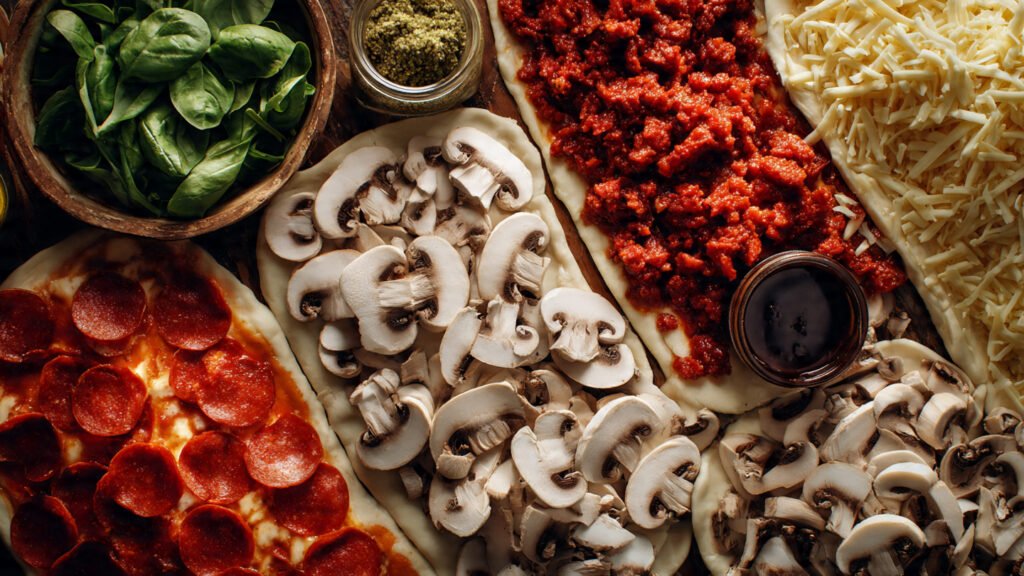
You might have the perfect dough and the hottest oven, but you can ruin the crispiness in seconds with your toppings. This is where “moisture management” becomes critical.
- Sauce is Water: Ideally, your tomato sauce should be thick. If it’s watery, cook it down on the stove first to evaporate excess liquid. Spread it thinly; you should still be able to see the dough through the sauce in some spots.
- Cheese Release: Fresh mozzarella is delicious, but it is packed with water. When it melts, it releases whey, which pools in the center of your pizza, creating a “soggy swamp.” If using fresh mozzarella, slice it an hour beforehand and let it sit on paper towels to drain, or opt for low-moisture whole milk mozzarella for a reliable melt without the flood.
- Vegetable Sweat: Raw vegetables like mushrooms, spinach, and zucchini are mostly water. If you put them on raw, they will steam your crust. Always sauté or roast high-moisture veggies before putting them on the pizza.
Step-by-Step Method for Maximum Crunch
Follow these steps to ensure you know exactly how to get a crispy sourdough discard pizza crust.
- Cold Fermentation: After your bulk rise, put your dough in the fridge for 24 to 72 hours. Cold dough is easier to handle, holds its shape better, and develops micro-blisters on the crust. More importantly, the dry air in the fridge dries out the surface of the dough slightly, giving you a head start on crispiness.
- Maximize the Preheat: Place your steel, stone, or skillet on the bottom rack. Preheat your oven to its highest setting (usually 500°F or 550°F) for at least 45 to 60 minutes. The air is hot after 15 minutes, but the stone needs an hour to fully saturate with heat.
- Shape and Transfer: Gently stretch your dough. Use semolina flour on your pizza peel to prevent sticking—semolina acts like tiny ball bearings and adds a gritty crunch.
- The Par-Bake (Critical Step): Slide the dough onto the hot surface without toppings. Bake naked for 3 to 4 minutes. This sets the crust structure before it is weighed down.
- Finish Strong: Remove the par-baked crust, top it quickly (don’t let it cool down too much!), and return it to the oven until the cheese bubbles and the crust is deep golden brown.
FAQ: Troubleshooting Your Sourdough Pizza
Q: Can I just use a regular baking sheet?
A: You can, but you likely won’t get a crispy bottom. If you must use a sheet pan, preheat the pan inside the oven so the dough hits a hot surface, rather than placing cold dough on a cold pan.
Q: Does adding sugar make the crust crispier?
A: Sugar helps with browning (Maillard reaction), which can lead to a crunchier surface texture. However, too much sugar can cause the crust to burn before the inside is cooked. Sourdough discard already has complex sugars, so you usually don’t need to add extra.
Q: Why is my crust crispy but tough to chew?
A: This usually means the pizza was baked at too low a temperature for too long. The moisture evaporated slowly, drying out the gluten network until it became leather-like. You need higher heat for a shorter time to get “crispy” rather than “hard.”
Q: Should I use the convection setting?
A: Yes! Convection moves hot air around, evaporating moisture on the surface of the pizza faster. Just keep an eye on it, as convection can sometimes brown the cheese before the bottom of the crust is fully set.
Final Thoughts
Mastering a crispy sourdough discard pizza crust isn’t about having a fancy Italian setup; it’s about manipulating heat and moisture. By upgrading your baking surface to a steel or stone, utilizing the par-bake method, and being strategic with your toppings, you can turn your excess starter into a professional-quality dinner.
Sourdough discard recipes are a wonderful way to reduce waste, but they should never taste like a compromise. With these techniques, your homemade pizza will rival anything from a local pizzeria. So, grab your discard, fire up the oven to 500°F, and get ready to hear that perfect crunch. Happy baking!