It’s happened to all of us. You feed your bubbly, active summer starter, but now that winter has hit, it sits there like a bowl of cement. No rise, no bubbles, just sadness.
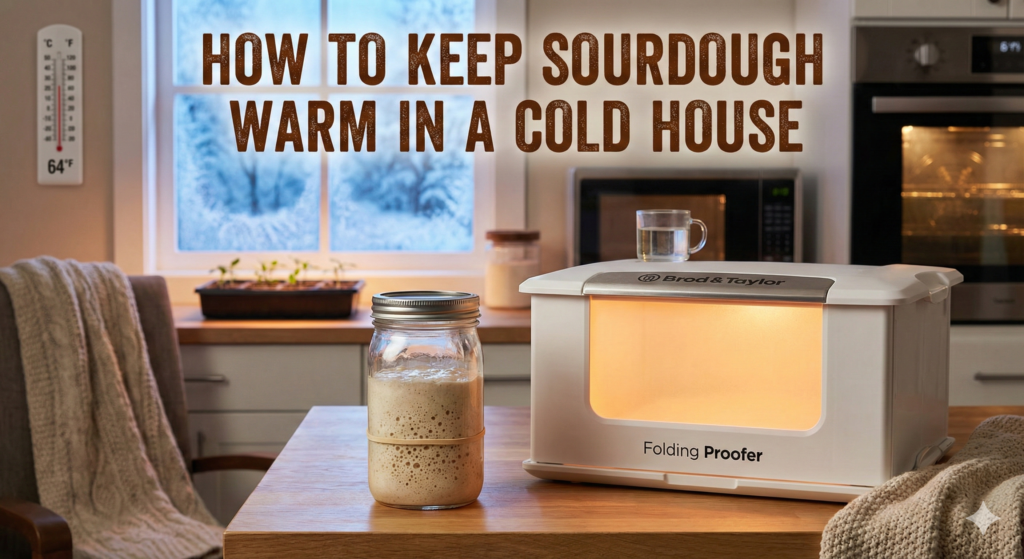
Sourdough is a living ecosystem of wild yeast and bacteria. Like us, they slow down when they get cold. If your kitchen drops below 68°F (20°C), your fermentation can grind to a halt.
But you don’t have to stop baking until spring.
In this guide, we’ll break down the 7 best ways to keep your sourdough starter warm, ranging from free “hacks” to professional solutions.
What is the Ideal Temperature for Sourdough?
Before we try to heat things up, we need to know the target.
- The Danger Zone (< 65°F): Yeast goes dormant. It might take 12-24 hours to double.
- The Sweet Spot (75°F – 82°F): This is the “Goldilocks Zone.” Yeast is active, bacteria production is balanced, and your dough rises predictably (usually in 4-6 hours).
- The Danger Zone (> 85°F): Yeast becomes too active and can eat through the gluten structure before flavor develops.
If your counter is cold, here is how to hit that sweet spot.
Method 1: The “Oven Light” Hack (Free)
This is the classic trick. Your oven is insulated, and the small incandescent bulb puts out a surprising amount of heat.
- How to do it: Place your jar in the oven (turned OFF) and leave the light on.
- The Risk: Newer ovens have LED lights that emit zero heat. Conversely, some incandescent bulbs can heat a small oven to 90°F+, which can cook your starter.
- Verdict: Great in a pinch, but put a sticky note on the oven controls so nobody accidentally turns it on (RIP to many starters this way).
Method 2: The Microwave Steam Room (Free)
If your oven light is too weak (or too dangerous), use your microwave.
- How to do it: Place a glass measuring cup filled with boiling water in the back of the microwave. Place your starter jar next to it and close the door.
- Why it works: The boiling water raises the ambient temp and humidity in the small, sealed space.
- Verdict: Effective, but high maintenance. You have to reheat the water every 2-3 hours.
Method 3: The “Top of the Fridge” Spot (Free)
Heat rises. The compressor on the back of your fridge generates heat that vents upward.
- How to do it: Feel the cabinet above your fridge. If it’s warm to the touch, it’s a perfect winter home for your starter.
- Verdict: Easy, but not every fridge vents this way.
Method 4: The Seedling Mat (Cheap)
For about $15, you can buy a heating mat designed for germinating garden seeds.
- How to do it: Plug it in and sit your jar on top.
- The Downside: These mats heat from the bottom up. In a cold room, you can end up with a “hot bottom” (active yeast) and a “cold top” (dormant yeast). You also can’t control the exact temperature—it’s usually just “on” or “off.”
“Temperature extremes in either direction are the most common trigger for acetone smell in starters — the full starvation and stress metabolite explanation is in our guide on sourdough starter smells like acetone.”
Method 5: The Cooler & Hot Water Bottle (The “Camping” Method)
If you are bulk fermenting a large batch of dough and it won’t fit in the microwave, use a cooler.
- How to do it: Place your dough bowl inside a hard-sided cooler along with a hot water bottle (or a jar of hot water). Close the lid.
- Verdict: Works well for maintaining temp, but it’s hard to monitor the dough without opening the lid and letting the heat out.
Method 6: The Instant Pot (Use Caution!)
If you own an Instant Pot, the “Yogurt” function can work, but it comes with a major warning.
- The Danger: most “Normal” yogurt settings sit at 106°F – 113°F. This is too hot for sourdough and can kill or severely weaken your yeast colony.
- How to do it safely: Only use this if your model has a specific “Low” setting that stays below 95°F. If you can’t confirm the temp, do not use it.
- Verdict: High risk unless you verify the temperature with a thermometer first.
Method 7: The “Set It & Forget It” Solution (Best for Consistency)
If you are tired of the guessing game—or if you’ve ever ruined a loaf because the microwave water got cold—there is a tool designed specifically for this problem.
Invest in a Folding Proofer , it will change the way you bake.
Unlike heating mats that create hot spots, a proofing box creates a controlled ambient environment. You set it to exactly 78°F, and it holds it there, whether your kitchen is 60°F or freezing.
- Consistency: Your starter doubles in the exact same amount of time, every single day.
- Safety: No risk of accidentally cooking your starter in the oven.
- Capacity: It fits large dough bowls (for bulk fermentation), not just small jars.
Read my full review of the Brod & Taylor Proofer here to see if it’s worth the investment for your kitchen.
Comparison: Effort vs. Consistency
Not sure which method is right for you? Here is how they stack up.
| Method | Cost | Effort Level | Consistency | Best For… |
| Oven Light | Free | Low | Low (Unpredictable) | Occasional bakers |
| Microwave + Water | Free | High (Reheating water) | Medium | Quick fixes |
| Top of Fridge | Free | Low | Low (Varies by fridge) | Passive maintenance |
| Seedling Mat | Low ($15) | Low | Medium (Hot spots) | Budget setups |
| Cooler Box | Low | Medium | High (Insulated) | Power outages / Camping |
| Instant Pot | High ($100+) | Low | Risk of Overheating | Only specific models |
| Folding Proofer | High ($200) | Zero | Perfect | Serious bakers |
Summary
You don’t need fancy gadgets to bake sourdough, but you do need temperature management.
- For the Occasional Baker: Stick to the Microwave Method. It’s safer than the oven light.
- For the Frequent Baker: Consider a Proofing Box. It removes the single biggest variable that causes bread to fail.