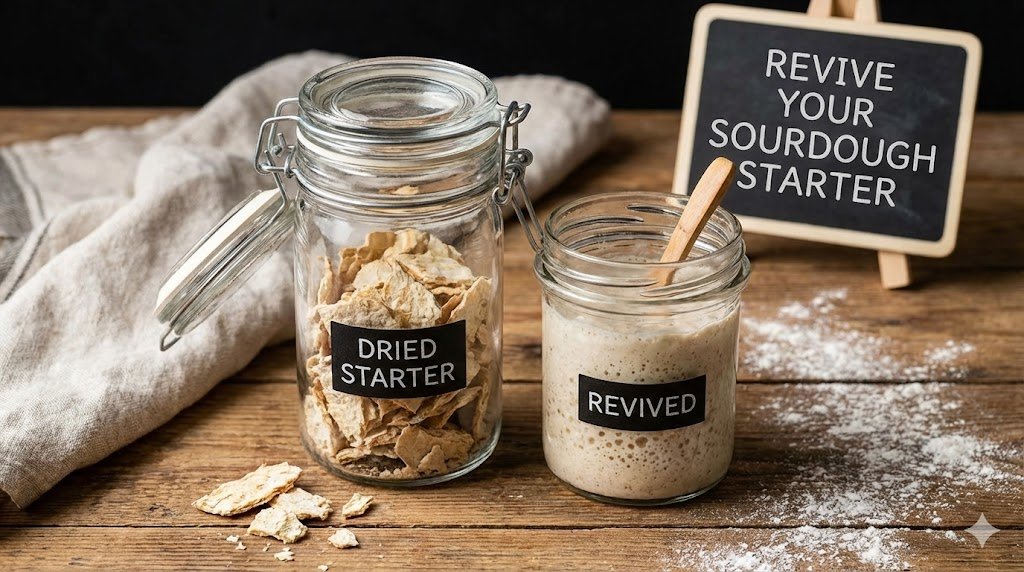
Dehydrated sourdough starter is one of the most reliable ways to store, share, and preserve a strong and mature culture. Once dried, the yeast and bacteria inside it go dormant—almost like seeds waiting for moisture. Reviving it is simple, but doing it correctly ensures you restore a healthy, balanced, and fully active starter that behaves just like fresh sourdough.
If you want to dry your own starter as a backup, here’s exactly how to dry your sourdough starter so it’s ready when you need it.
This guide walks you through the entire process:
- How to rehydrate dried starter
- How to feed it during revival
- Exactly what to expect at each stage
- Signs of success and signs of trouble
- Troubleshooting every common problem
- How to know when it’s ready to bake
- How to strengthen and maintain it after revival
By the end, you’ll feel confident restoring ANY dried starter—from your own backup, a friend’s, or a dehydrated starter purchased online.
Why Dried Sourdough Starter Is So Easy to Revive
Drying a sourdough starter doesn’t kill it. It simply removes moisture, forcing yeast and bacteria into a dormant, stable state. When exposed to water again, they gradually wake up.
Think of dried starter like:
- A dehydrated plant bulb waiting for water
- Seeds waiting for soil
- A culture “paused” in time
Once rehydrated and fed, the microorganisms rebuild their populations and fermentation activity returns. A healthy, mature starter can rise again within 48–72 hours of revival.
How Long Does It Take to Revive a Dried Starter?
Most dried starters revive fully in 2–4 days, depending on:
- Temperature
- Strength of the original culture
- Feeding ratios
- Hydration level
- Type of flour
Some revive in a single day; others take a little longer. The steps below ensure you get consistent results.If your revived starter looks too watery or too thick, learn how to adjust it using the tips in starter hydration problems explained.
“If your starter was stored wet rather than dried and has developed a sharp chemical smell, the recovery process is different — start with the sourdough starter smells like acetone guide before attempting a full revival.”
What You Need Before You Begin
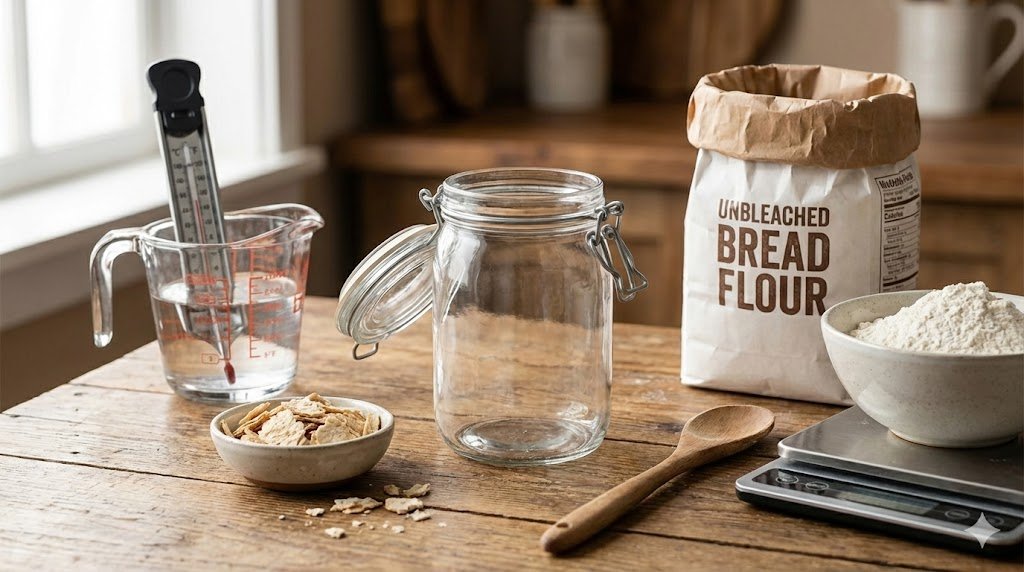
You don’t need anything fancy. Just:
- 1 tablespoon dried starter flakes
- Warm water (75–80°F / 24–26°C)
- Unbleached all-purpose or bread flour
- A jar or glass container
- A spoon for stirring
- A scale (optional but useful)
- A loose-fitting lid
Using warm water helps “wake up” dormant yeast more quickly and promotes early bubbling.
Step 1: Rehydrate the Dried Starter
Add 1 tablespoon of dried starter to your clean jar.
Pour in 1–2 tablespoons of warm water (not hot).
Stir to coat the flakes and let them sit for about 15 minutes.
What’s Happening Here
During this step, the dried yeast and bacteria begin to soften. They aren’t fermenting yet—they’re absorbing water and preparing to reactivate.
What It Should Look Like
- Wet flakes
- Slightly mushy texture
- No bubbles yet
If you see bubbles at this stage, that’s a great sign—but not required.
Step 2: First Feeding (Small & Gentle)
Add:
- 1 tablespoon flour
- 1 tablespoon warm water
Stir gently until you have a thick, smooth paste.
Cover loosely and let it rest for 12–24 hours at 75–78°F.
What to Expect
The starter will look quiet for a while. This is normal.
You may see:
- A few bubbles on top
- A slightly sour smell
- A more hydrated texture
If it starts smelling like acetone during the process don’t worry — here’s my post on fixing a starter that smells like acetone, it’s totally normal at this stage.
At this stage, you are not looking for rise—only for signs of life.
Once it starts showing signs of activity, switch over to my guide on how to feed and maintain your sourdough starter to get it fully healthy again.
Step 3: Second Feeding (Start Building Strength)
Once you see small bubbles, it’s time to feed again.
Use a 1:1:1 ratio:
- 1 part starter
- 1 part water
- 1 part flour
Let sit for 12 hours.
What You Should See Now
- More bubbles
- Slight rise
- Less acidic smell
- Looser, airy texture
This is the first sign that the yeast is truly waking up.
If you’re unsure how much flour and water to use during early feedings, my guide on correct feeding ratios for your starter explains exactly which ratios give the fastest revival.
Step 4: Third Feeding (Reduce Acidity & Build Momentum)
The starter may still be a little sluggish after the second feeding because dried cultures often have higher acidity.
To reset this, feed at:
1:2:2 (one part starter, two parts water, two parts flour)
This introduces more fresh flour, lowers acid concentration, and gives yeast plenty of fuel to multiply.
Within 12–24 hours, you should see a noticeable increase in activity.
Step 5: Fourth Feeding (Full Activation)
By now, your revived starter should show:
- Visible bubbling
- A slight rise after feedings
- A pleasant tangy aroma
Feed at 1:2:2 again, or increase to 1:3:3 if activity is strong.
Once it doubles within 4–8 hours, it’s fully revived.
A newly rehydrated starter often mimics the behavior of a young culture, so it helps to review how to know when your sourdough starter is mature..
Once it’s bubbly and doubling after feeds, you’re good to go — here’s how to use your sourdough starter to bake your first loaf with it!
Revival Timeline: What to Expect Hour-by-Hour
| Time After Rehydration | What You Should See |
|---|---|
| 0–12 hours | Starter softens, no rise yet |
| 12–24 hours | Tiny bubbles appear |
| 24–36 hours | Light fermentation, mild rise |
| 36–48 hours | Steady bubbling, stronger rise |
| 48–72 hours | Starter begins doubling consistently |
| 72–96 hours | Fully revived, ready for baking |
Some dried starters revive incredibly fast; others take the full 3–4 days. Both are normal.
Signs Your Revived Starter Is Healthy
Look for:
✔ Consistent doubling
Usually within 4–8 hours after feeding at 75–78°F.
✔ Airy, sponge-like interior
When you scoop it, it should feel light and elastic.
✔ Tangy, clean smell
Pleasantly sour—not harsh, rotten, or chemical.
✔ Bubbles visible on the sides
Even distribution of fermentation = strong yeast population.
✔ Smooth dome on top
A domed top indicates active CO₂ production.
If you see these signs, your starter is absolutely ready to bake with.
Signs Your Revived Starter Needs More Time
Not quite there? No problem.
Your starter may need another day or two if:
- It rises only 20–40%
- The smell is still sharp or alcoholic
- Texture is dense or pasty
- Bubbles form slowly
- It collapses quickly after feeding
These are normal signs of early revival. Keep feeding at 1:2:2 every 12 hours.
Troubleshooting: If Your Starter Isn’t Reviving
Even with a proven process, some dried starters need extra care. Here’s what to do if things stall.
Problem 1: No Bubbles After 24 Hours
Likely cause: Too cold
Fix: Move to 75–80°F environment.
Problem 2: Smells Like Acetone or Nail Polish
Likely cause: Starvation
Fix: Feed at 1:3:3 or 1:5:5 to dilute acids.
Problem 3: Very Slow Rise
Likely cause: High acidity or immature revival
Fix: Use whole wheat or rye flour for next feeding.
These flours contain more minerals and enzymes that jump-start fermentation.
Problem 4: Starter Becomes Thin or Watery
Likely cause: Too much water or weak gluten structure
Fix: Add extra flour during feeding to thicken.
Problem 5: Mold or Pink/Orange Coloring
This is contamination.
Do not try to revive a moldy starter.
Discard immediately.
This is one of the only true “starter emergencies.”
Why Revival Sometimes Takes Longer
A few factors can slow the revival process:
🟡 Cold kitchens
Yeast thrives at warm temperatures. At 65°F, activity drops dramatically.
Reviving a starter in a cold kitchen is an uphill battle — these tips on how to keep your sourdough starter warm will speed up the process a lot.
Warmth plays a major role in reactivation, so make sure your starter stays within the ranges outlined in the ideal sourdough starter temperature guide..
🟡 Old dried starter
If the starter was dried several years ago, it may have fewer living cells.
🟡 Very acidic starter before drying
It will take more feedings to bring balance back.
🟡 Low-mineral flour
Switching to bread flour or 10–20% rye helps.
🟡 Water quality
Chlorine can slow microbial activity.
All of these are easy to work around—you just need more consistent feedings.
How to Know When the Starter Is Ready to Bake
Do this Starter Strength Test:
- Feed the starter at 1:2:2
- Mark the jar with a rubber band
- Leave at room temperature (75–78°F)
- Check it after 4–8 hours
If it doubles, it’s ready.
If not, repeat the feeding cycle until it does.
How to Maintain Your Newly Revived Starter
To keep your revived starter strong long-term:
✔ Feed consistently
Every 12–24 hours if kept out, or weekly if refrigerated.
✔ Use warm water
Cold water slows fermentation.
✔ Keep it between 72–78°F
This is the “goldilocks zone” for yeast growth.
✔ Don’t switch flours abruptly
Transition gradually if changing types.
✔ Feed more when baking often
More baking = more microbes needed.
A revived starter can become even stronger than before drying if you keep a healthy rhythm.
Why Revived Starters Sometimes Become Stronger Than Fresh Ones
This is a fun fact most bakers don’t know:
Yeast that survives dehydration tends to be the strongest and most resilient cells.
This creates a starter that:
- Ferments evenly
- Handles flour changes better
- Recovers quickly from neglect
- Produces consistent oven spring
Reviving a dried starter isn’t just restoration—it’s selection for a tougher microbial culture.
What to Do With Your Starter Once It’s Fully Active
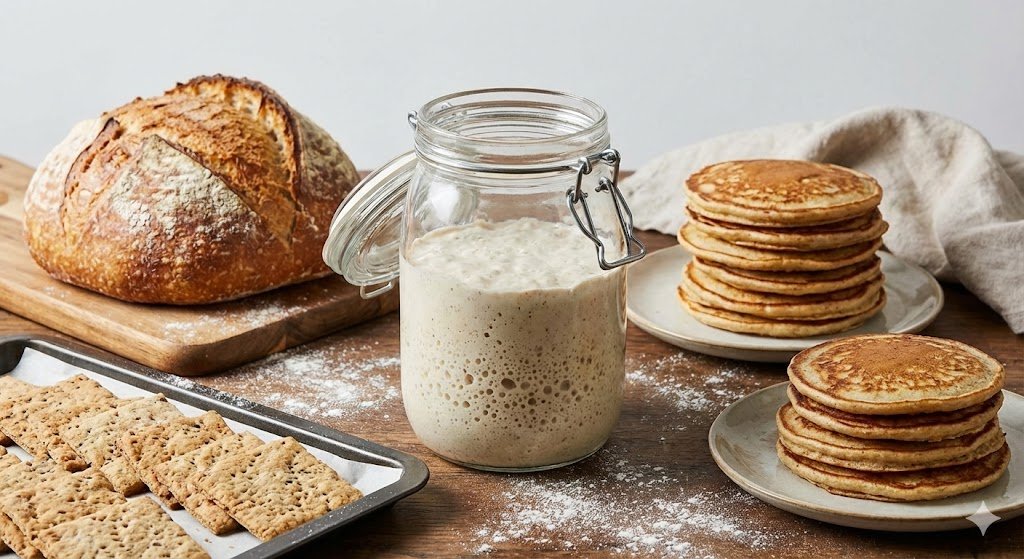
Once revived, you can treat your starter just like any other:
- Use it to bake bread, bagels, pizza, pancakes, etc.
- Keep a portion as backup by drying a new batch
- Create a stiff starter for sweeter, stronger fermentation
- Build levain for your favorite recipes
Within a week, most revived starters reach full baking strength, allowing you to produce reliable and consistent loaves.
Final Thoughts: Reviving a Dried Starter Is Easy—And Worth It
A dried sourdough starter is resilient, reliable, and incredibly simple to bring back to life. With warm water, quality flour, and steady feedings, you’ll see fermentation return in no time.
If you want to make the process even easier—and learn how to take your revived starter from “functional” to exceptional—my Sourdough Mastery Course walks you through:
- Starter feeding schedules
- Hydration management
- High-activity levain building
- Starter diagnostics
- Temperature and fermentation control
- Advanced troubleshooting for weak starters
Whether you’re baking your first loaf or refining your craft, the course gives you every tool you need for consistent, beautiful sourdough.