Picture this: It’s 5:00 PM on a Friday. The oven is preheating, the pepperoni is sliced, and you’re ready to shape your pizza. You reach into the bowl, expecting a smooth, elastic ball of dough. Instead, your hand is instantly engulfed in a wet, shaggy mess. It’s not dough anymore; it’s a gloopy paste that refuses to let go. You try to scrape it off with your other hand, but now both hands are trapped in the spiderweb.
Panic sets in. You’re wondering if you should scrap the whole thing and order takeout.
Stop. Do not wash your hands yet. Do not dump the bowl. This isn’t a funeral for your dinner; it’s just a chemistry problem. I’ve spent years troubleshooting sticky sourdough discard pizza dough, and I can tell you right now: your dough isn’t broken, it’s just chemically confused.
Most home bakers panic and start dumping in raw flour, which creates a tough, cardboard-like crust. We aren’t going to do that. Instead, we are going to use temperature and technique to save your pizza night. Here is exactly why this happened and how to fix it without ruining the final bake.
The Science: Why Your Discard Turned to Glue
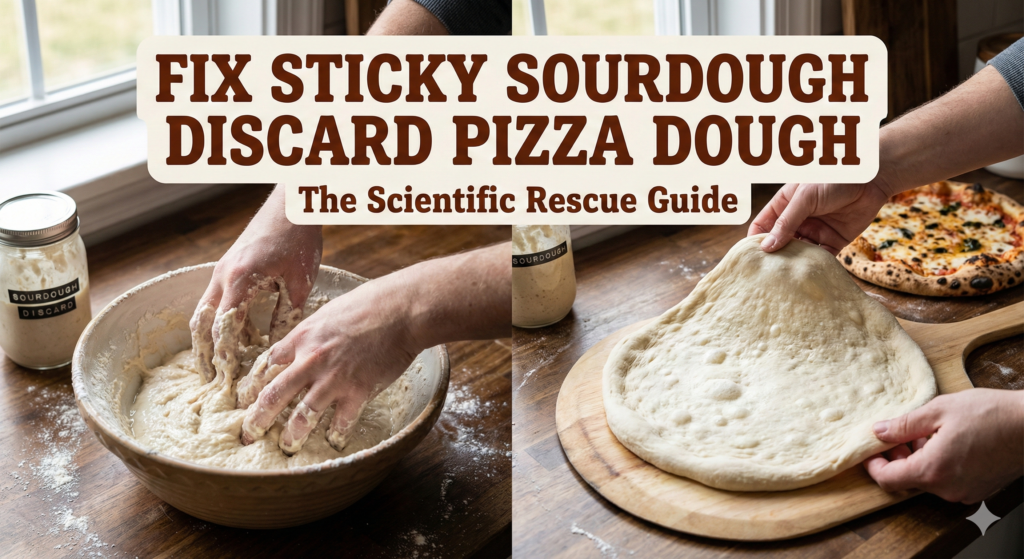
To fix the mess, you have to understand why it happened. Most people assume their dough is sticky because they messed up the hydration levels (the ratio of water to flour). While that’s possible, with sourdough discard, the culprit is almost always Acidity.
Sourdough discard is a living ecosystem. As it sits in your fridge, bacteria consume sugars and produce acid, drastically lowering the pH level of your starter. This acidity triggers a chain reaction:
- The “Protease Effect”: High acidity activates Protease Enzymes. Think of these as microscopic scissors. Their only job is to snip protein chains.
- Gluten Degradation: When you mix dough, you are building a Gluten Network—the “net” that holds gas and gives the crust its chew. Protease enzymes cut this net faster than you can build it.
- The Result: The dough loses elasticity and turns into a slack, sticky puddle. It’s not just wet; it’s structurally unraveling. This is why a recipe that works perfectly with a fresh, bubbly starter can turn into soup when you use two-week-old discard.
What Most Recipes Get Wrong
If you frantically Google “sticky dough help,” the top results usually scream one thing: “Just add more flour!”
Please, put the bag of flour down.
The “Flour Trap”
Adding raw flour at the end of the mixing process is the quickest way to ruin your pizza. Baking relies on Baker’s Percentages—precise mathematical ratios of flour, water, salt, and yeast. If you dump in an extra half-cup of flour to make the dough handleable:
- You Dilute the Salt: This leads to a bland, flavorless crust.
- You Create “Flour Skins”: Raw flour rarely integrates fully into fermented dough. Instead, it forms dry patches on the outside. When you bake it, that skin hardens into a chalky barrier that prevents proper oven spring, leaving you with a flat, heavy disc.
“Trust the Process” (When You Shouldn’t)
You’ll also see advice saying, “It’s supposed to be sticky! Just trust the process.” This is dangerous advice because it ignores the difference between tacky and sticky.
- Tacky (Good): Feels like the adhesive on a Post-it note. It sticks to your finger but releases cleanly when you pull away. This is typical for high-hydration doughs.
- Sticky (Bad): Feels like chewing gum on a shoe. It bonds to your skin and leaves a residue behind. If your dough is like this, “trusting the process” will result in a failed bake. We need to intervene.
Step-by-Step Guide: The “Triage” Protocol
If your dough is currently a puddle, follow this protocol immediately. Do not skip steps.
Step 1: The Fridge Shock (Temperature Control)
The first thing you need to do is stop touching the dough. Cover the bowl and place it in the coldest part of your fridge for 20 to 30 minutes.
Why? Cold fermentation isn’t just for flavor; it’s a mechanical tool.
- Stiffening: Cold temperatures cause the water in the dough to increase in viscosity, making the dough physically stiffer and easier to handle.
- Enzyme Brake: Remember those protease enzymes eating your gluten? They thrive in warmth. Chilling the dough puts them to sleep, buying you time to rebuild the structure.
Step 2: Lubrication Over Flour
Once the dough is chilled, take it out. Do not flour your work surface yet. Instead, we are going to use a hydrophobic barrier: water or oil.
- Water: Keep a bowl of cold water nearby. Dip your hands in it before touching the dough. The water creates a slip layer that prevents the dough from bonding to your skin.
- Oil: If you are nearing the final shape, coat your hands lightly in olive oil.
Step 3: The Coil Fold (Repairing the Net)
Do not try to knead this dough. Kneading is aggressive; on a weakened gluten network, it will just tear the strands further. Instead, we use Coil Folds.
- With wet hands, reach into the bowl and lift the dough from the middle.
- Let the ends of the dough dangle and tuck under themselves as you gently set it back down.
- Rotate the bowl 90 degrees and repeat.
- Do this 4 times.
This motion gently aligns the gluten strands linearly without tearing them. You will notice the dough starts to “stand up” and hold its shape better after just one round of folds.
Once you’ve used the cold-shock and oil methods to handle that stickiness, you’re ready to shape. But be careful—sticky dough is prone to tearing. Head over to my guide on stretching sourdough discard pizza dough to ensure you don’t rip your rescued batch.
Step 4: The Autolyse Adjustment
If you are reading this before you start mixing next time, be wary of the autolyse (the stage where flour and water sit together before adding salt). While an autolyse usually helps dough extensibility, doing a long autolyse with acidic sourdough discard is risky. The acidity attacks the flour before the salt (which inhibits enzyme activity) can do its job. For discard recipes, I recommend skipping the autolyse or keeping it under 15 minutes to preserve dough strength.
The “00” Flour Trap: Why Your Flour Choice Matters
If you’ve successfully rescued your dough using the triage steps above, take a moment to look at the bag of flour you used. This is often the silent killer of sourdough discard recipes.
In the pursuit of “authentic” Italian pizza, many home cooks reach for “00” flour (doppio zero). While this finely milled flour is perfect for wood-fired ovens that blast at 900°F (480°C), it can be a disaster for high-hydration discard doughs in a home oven.
Absorption Rates & Protein Content
Here is the reality of flour absorption:
- Bread Flour (The Safety Net): High protein (12-14%) acts like a thirsty sponge. It has a high gluten potential, meaning it can drink up the extra water in your discard and hold its shape. If you are struggling with sticky dough, always start with Bread Flour.
- “00” Flour (The Risk): This flour is ground extremely fine, which means it hydrates differently. It often has a lower water absorption rate than strong American bread flour. If you take a recipe designed for Bread Flour (65-70% hydration) and swap it 1:1 for “00” flour, you will almost certainly end up with a soupier dough.
Pro Tip: If you must use “00” flour for that delicate texture, reduce the water in your recipe by 10-15 grams to compensate for the liquid already present in your discard.
Prevention: The “Acid-Balance” Framework
You’ve saved dinner tonight, but let’s make sure you never have to wrestle a sticky dough monster again. The secret isn’t a better recipe; it’s Discard Management.
1. The “Micro-Feed” Technique
If your discard has been sitting in the fridge for more than 7 days, it is likely too acidic (pH below 4.0) to use straight in a dough without risk.
- The Fix: Take your discard out 2 hours before you plan to mix. Stir in just 1 tablespoon of fresh flour and 1 tablespoon of water.
- Why: This “micro-feed” introduces fresh food for the yeast and slightly buffers the acidity, waking up the culture without turning it into a full “active starter.” It reduces the protease activity significantly.
2. The Baking Soda Hack
This is a controversial trick among purists, but it is a lifesaver for waste-conscious home cooks.
- The Science: Baking soda is alkaline. Sourdough discard is acidic.
- The Trick: If you are forced to use very old, smelly discard, dissolve a tiny pinch (1/8 teaspoon) of baking soda into your wet ingredients before adding the flour.
- The Result: This neutralizes just enough acidity to stop the protease enzymes from eating your gluten, keeping the dough strong and elastic.
3. Temperature: The Enzyme Accelerator
Remember: Heat = Speed.
In a warm kitchen (above 75°F/24°C), enzyme activity doubles. If you are using old discard in the summer, do not let your bulk fermentation sit on the counter for 4 hours.
- The Strategy: Use a probe thermometer to check your dough temp. If it’s over 78°F, move your bulk fermentation to the fridge immediately. A “Cold Bulk” (leaving the dough in the fridge for 24-48 hours) is safer for discard doughs because the cold inhibits the enzymes while still allowing flavor to develop.
Troubleshooting: Quick-Fix Guide
If you are in the thick of it, use this table to diagnose exactly what your dough is telling you.
| The Symptom | The Likely Cause | The Immediate Fix |
| Dough tears when folded | Weak Gluten: The acid has degraded the protein network. | Stop folding. Cold Ferment immediately (fridge for 1 hour) to relax the dough and slow enzyme activity. |
| Dough is “slack” (puddles) | High Protease: Enzymes are cutting the gluten. | Coil Folds: Perform 3 sets of coil folds spaced 30 minutes apart. Do not knead. |
| Sticky residue on hands | Hydration Issue: The surface is too wet to handle. | Wet Hands: Dip hands in water before touching. Do not use flour on the bench yet. |
| Dough fights back (shrinks) | Overworked Gluten: You have built too much tension too fast. | Rest: Let the dough sit covered on the counter for 15-20 minutes to relax the gluten. |
| Crust is dense/gummy | Under-baked: High hydration dough needs longer to cook through. | Par-bake: Bake the dough without toppings for 3-4 minutes, then top and finish. |
Frequently Asked Questions
Here are the most common questions I get from panic-stricken bakers in my DMs.
1. Can I just add more flour if it’s too sticky?
Only as a last resort, and only during the very first mixing stage. Once the dough has rested or started bulk fermentation, adding raw flour will create dry clumps that won’t hydrate. If you absolutely must add flour, mix it with a few drops of water to create a “roux” first, then fold it in—but be prepared for a tougher crust.
2. My discard is 3 weeks old. Is it safe to use?
Safe? Yes. Good for structure? No. Old discard is extremely acidic (low pH). This acidity weakens the gluten network significantly. If your discard is very old, use it for things that don’t need structure (like brownies or crackers) rather than pizza dough, which relies on a strong gluten windowpane.
3. Why does my dough stick to the peel?
This is usually a mechanical issue, not a dough issue. You likely have a “wet spot” on the bottom of the dough.
- The Fix: Use a mix of 50% flour and 50% semolina (or rice flour) on your peel. Semolina acts like tiny ball bearings, allowing the wet dough to slide off into the oven effortlessly.
4. Can I bake sticky dough in a pan instead?
Absolutely. If your dough is truly unsalvageable for hand-tossing, pivot to a Pan Pizza or Focaccia.
- The Pivot: Pour a generous amount of olive oil into a cast-iron skillet. Dump the sticky dough in. Let gravity do the work—it will spread out on its own. The oil will fry the bottom crust, creating a delicious, crispy salvage operation.
5. How do I get an airy crust with sticky dough?
Heat is your best friend here. Sticky dough usually means high water content. To turn that water into steam (which puffs up the crust) before the structure collapses, you need intense heat. Preheat your pizza stone or steel for at least 45 minutes at your oven’s maximum temperature (usually 500°F/260°C).
Embrace the Mess
Sourdough is a lesson in patience and adaptation. Sticky dough isn’t a failure; it’s just feedback. It’s telling you that your discard is active, your hydration is high, and your kitchen is alive.
By understanding the science of protease enzymes and using temperature as a tool, you can turn a potential disaster into the best pizza you’ve ever made. The next time you find yourself with “spiderweb hands,” don’t panic. Wash them off, chill the dough, and remember: even the ugliest dough can make a beautiful pizza.
Now that you’ve saved the dough, you’re ready to bake. Check out our guide on High-Heat Baking Strategies for Home Ovens to ensure you get that perfect leopard-spotting on your crust tonight.