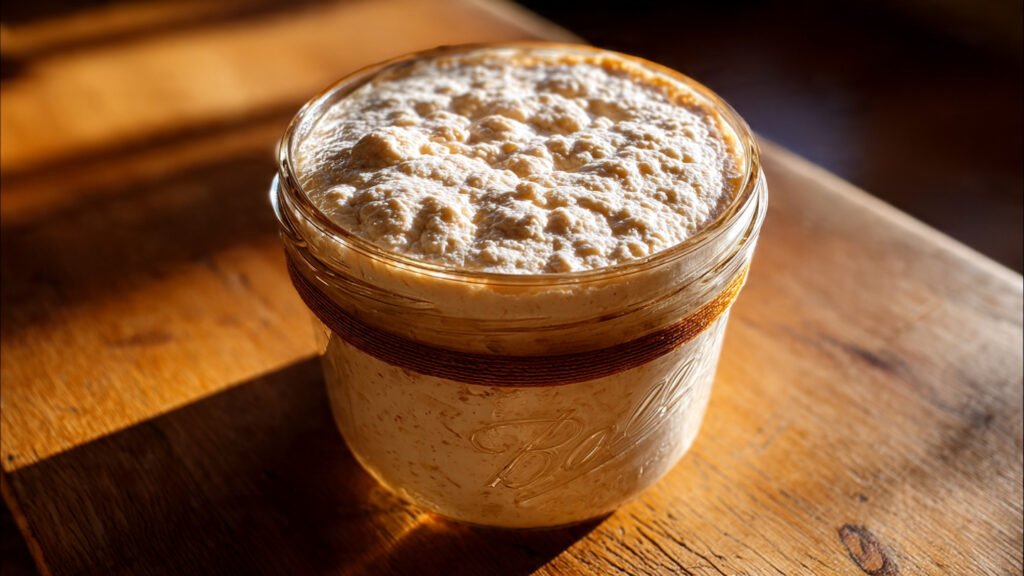
From a discouraged waiter watching a flat jar of flour to a confident baker holding a bubbling, active culture ready for bread in just one weekend.
Is a 72 Hour Sourdough Starter Actually Possible?
Yes, establishing an active 72 hour sourdough starter is scientifically possible, but it is strictly conditional. You cannot rely on luck; you must manipulate the environment to hyper-accelerate yeast reproduction.
The Mandatory Conditions
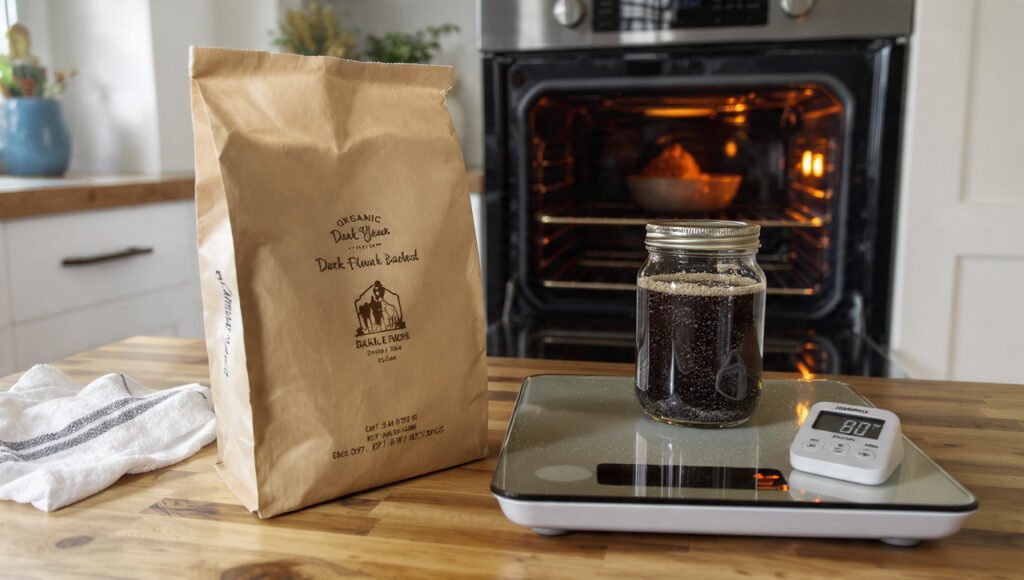
Success requires two non-negotiable variables: organic whole grain flour (specifically rye) and sustained warmth. Building a sourdough starter in 3 days requires controlled temperature, whole grain flour, and structured feeding intervals. Rye flour is rich in amylase enzymes, nutrients, and natural yeast populations that processed white flour lacks. Secondly, the culture must be kept between 78–82°F (25–28°C). This temperature range puts yeast metabolic activity into overdrive, accomplishing in three days what usually takes seven at standard room temperature.
Why Most People Fail
Most “fast-track” attempts fail because bakers use bleached all-purpose flour or leave the jar on a cool counter (under 70°F/21°C). Without the nutrient density of whole grains and the metabolic boost of heat, the wild yeast cannot multiply fast enough to outcompete spoilage bacteria. Note: While a 72 hour sourdough starter provides sufficient leavening power to bake, its structural strength and flavor complexity will continue to mature over subsequent weeks.
The Problem with “Standard” Starter Guides
Common Advice Online
The vast majority of sourdough guides follow the same passive algorithm: Mix equal parts all-purpose flour and water. Wait 24 hours. Discard half. Feed again. Repeat this process for 14 days until it bubbles. The premise is that wild yeast is everywhere, and if you provide a food source, it will eventually arrive.
Where It Goes Wrong
This method relies on environmental luck rather than biological control. Almost every new starter experiences a “false rise” on Day 2 or 3—a burst of activity caused by Leuconostoc bacteria (spoilage organisms), not yeast. When this bacterial bloom naturally dies off due to rising acidity, the starter appears to go completely dormant for days.
Why Beginners Get Stuck
The “Day 4 Slump” is where most beginners quit. Seeing a flat, lifeless mixture after days of effort, they assume they killed the culture. In reality, the environment has just become acidic enough to kill the bad bacteria, but the wild yeast population hasn’t yet established dominance. They pour it down the sink just as the real process is about to begin.
What’s Missing: Structure and Velocity
Standard advice ignores the two levers that control fermentation speed: Enzymatic Activity and Thermal Load.
- Structure: Using only white flour provides low enzymatic activity, starving the yeast of easy sugars.
- Control: Relying on “room temperature” (often 68–72°F / 20–22°C) puts yeast in a hibernation state.
- Timing: Without an accelerant (like rye flour), the “lag phase” between the bacterial death and yeast bloom stretches for over a week. To compress this into 72 hours, we cannot wait for nature; we must force the environment.
Structured systems that compress this timeline are what separate hobby attempts from professional-level results. You can see how this fits into a complete 7-day workflow here.
If you want a structured roadmap that removes guesswork from the entire first week, see the 7-Day Sourdough Learning Plan.
The 72-Hour Protocol: Step-by-Step
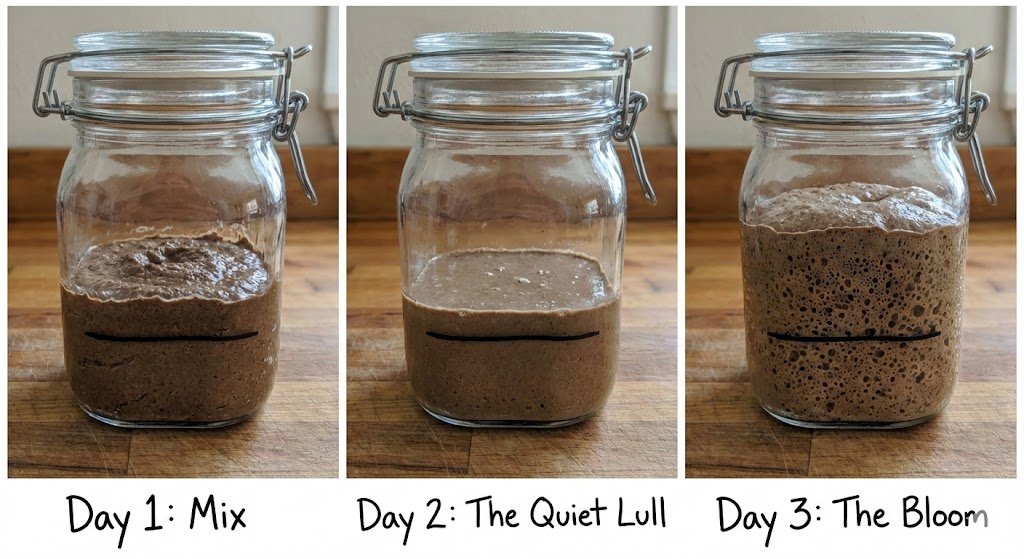
Phase 1: The Inoculation (0–24 Hours)
- The Action: The process begins by creating a high-nutrient environment designed to wake up dormant microorganisms. Instead of standard flour blends, this phase utilizes pure organic whole grains to maximize the introduction of wild yeast populations and amylase enzymes.
- The Mechanism: We are creating a “bacterial war.” By saturating the mixture with nutrients and holding it at an elevated temperature of 78–82°F (25–28°C), we trigger an immediate bloom of diverse organisms. This rapid acidification is intentional; it creates a hostile environment for spoilage bacteria while rolling out the red carpet for acid-tolerant yeast.
- What to Watch For: Expect to see bubbles or a “false rise” by the 24-hour mark. It may smell funky or cheese-like. This is normal bacterial activity, not yeast fermentation yet.
Phase 2: The Selection (24–48 Hours)
- The Action: This is the critical pivot point. The culture is fed to dilute the metabolic waste and introduce fresh starches. Precise feeding ratios and timing adjustments matter here, as the goal is not just to feed the culture, but to manually control the acidity level (pH).
- The Mechanism: We are forcing a “natural selection” event. By maintaining warmth (above 78°F/25°C) and adjusting the hydration, we suppress the Leuconostoc bacteria (the bad stuff) and encourage Saccharomyces (the good yeast) to take hold. Generic instructions often fail here by feeding too early or too late, disrupting the pH balance needed for this transition.
- What to Watch For: The “Quiet Period.” The initial funky bubbles often disappear, and the starter may look flat. Do not panic. This stillness means the environment is becoming acidic enough to kill the bad bacteria, clearing the stage for the true yeast to emerge.
Phase 3: The Bloom (48–72 Hours)
- The Action: The feeding schedule accelerates. As the yeast population establishes dominance, they consume sugar rapidly. Structured systems outperform generic instructions in this phase by responding to the starter’s metabolic rate rather than a rigid clock. The focus shifts to strength-building.
- The Mechanism: With competitors eliminated, the wild yeast population explodes. The gluten network begins to trap carbon dioxide efficiently, resulting in a predictable rise and fall. We are now conditioning the culture to lift dough.
- What to Watch For: A distinct shift in aroma from “funky” to pleasant, yeasty, and fruity. The mixture should double in volume within 4–6 hours of feeding, indicating it is vigorous enough to bake with.
Once your starter passes these benchmarks, you can move directly into a same-day baking timeline.
The 5-Point Inspection: Validating Your Starter’s Strength
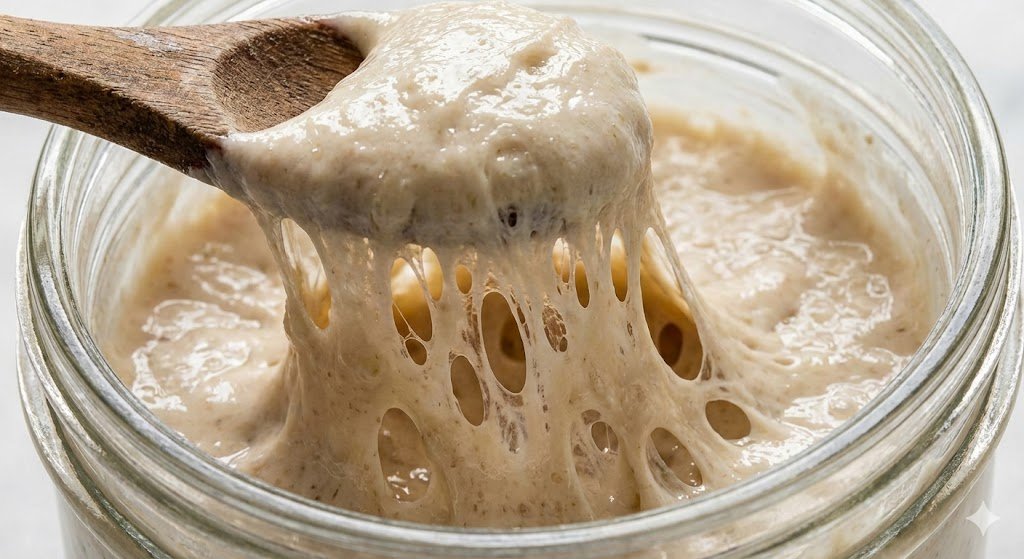
You cannot bake based on hope; you must bake based on evidence. Before mixing your first dough, your culture must pass this rigorous diagnostic check.
- Velocity (The Doubling Time): This is the primary indicator of fermentation power. A strong starter does not just bubble; it expands aggressively. At a controlled temperature of 78–82°F (25–28°C), a healthy culture must double its volume within 4 to 6 hours of a 1:1:1 feeding.
- The Olfactory Shift: Your nose is your best lab instrument. If it smells like vomit or rotten cheese, the bad bacteria are still fighting. If it smells like ripe fruit, yeasty beer, or mild vinegar, it passes.
- Structural Integrity (The Web): When you tilt the jar, the mixture should not run like water. It should move like a slow, aerated mousse. When you pull the surface back, you should see a complex, stringy network of gluten strands.
- The Rise Pattern (The Dome): Observe the surface geometry. A convex (domed) top means the starter is still rising. A flat or concave top means it has peaked and is beginning to collapse. Catch it at the dome.
- The Float Test (With a Caveat): Drop a teaspoon of starter into water. If it floats, it is aerated. Warning: Rely on Velocity (point #1) as your true north; the float test is merely secondary confirmation.
Once your starter passes the float test and is ready to bake with, the next critical step is nailing bulk fermentation. Use the bulk fermentation chart before your first bake so you know what rise target to aim for.
Why Your Starter Isn’t Bubbling (Yet)
If your jar looks lifeless, you likely triggered one of these biological “brakes.” Fix these inputs to restart the engine.
- The “Cold Kitchen” Trap
- Explanation: Standard room temperature (68–72°F / 20–22°C) signals yeast to hibernate, not reproduce.
- Correction: Move the jar to the top of the fridge or inside an oven with the light on. You must maintain 78–82°F (25–28°C) to hit the 72-hour target.
- Using “Dead” Flour
- Explanation: Bleached all-purpose flour has been stripped of the wild yeast and enzymes required for a rapid start.
- Correction: Switch immediately to organic whole grain rye or whole wheat flour. These act as “steroids” for fermentation.
- Panic During the “Lull” (Day 2)
- Explanation: The starter often stops bubbling after 24 hours. This is not death; it is the bacteria dying off to make room for the yeast.
- Correction: Do not throw it away. This quiet phase is biologically necessary. Keep it warm and wait.
- Premature Overfeeding
- Explanation: Adding too much fresh flour/water before the colony is established dilutes the population density.
- Correction: Stick to a 1:1:1 ratio (equal parts starter, flour, water) until you see consistent doubling.
- Chlorinated Tap Water
- Explanation: Modern tap water contains chlorine specifically designed to kill microorganisms—including the ones you are trying to grow.
- Correction: Use filtered water or bottled spring water.
FAQ: Troubleshooting Your Speed-Run
1. Is it really possible to make a sourdough starter in just 3 days?
Yes, but only if you manipulate the variables. A standard starter takes 7–14 days because it relies on ambient room temperature (68–72°F / 20–22°C) and low-nutrient white flour. To achieve a 72 hour sourdough starter, you must use organic whole grain rye flour and maintain a consistent temperature of 78–82°F (25–28°C). This combination acts as a biological accelerant.
2. Why did my starter bubble on Day 1 but look completely dead on Day 2?
This is the most common reason beginners quit, but it is actually a sign of success. The activity you saw on Day 1 was likely caused by Leuconostoc bacteria, not yeast. As your starter becomes more acidic (which is the goal), these bacteria die off, causing the bubbles to disappear. Do not throw it away. The wild yeast is currently establishing itself in the background.
3. Can I use all-purpose flour if I want a fast starter?
No. If your goal is speed, all-purpose flour is a liability. Bleached white flour has been stripped of the bran and germ, which contain the highest concentration of wild yeast spores and mineral nutrients. While you can eventually build a starter with all-purpose flour, it will likely take 10–14 days. For a 72-hour timeline, you need whole grain rye or whole wheat flour.
4. Why does my sourdough starter smell like vomit or old cheese?
This is a normal part of the initial “bacterial war” during the first 48 hours. The foul smell is a byproduct of unwanted bacteria that thrive in a neutral pH environment. As you continue to feed the starter and keep it warm, the acidity will rise, creating a hostile environment for these spoilage organisms. A bad smell means “keep going,” not “stop.”
5. How do I know when my starter is strong enough to bake bread?
Do not rely on a calendar; rely on behavior. A starter is ready to bake when it consistently doubles in volume within 4 to 6 hours of a 1:1:1 feeding at 78°F (25°C). Visually, it should be domed at the top, filled with bubbles, and have a web-like structure inside.
6. Can I use pineapple juice to speed up my starter?
Yes, this is a legitimate scientific hack known as the “pineapple juice solution.” Mixing your flour with unsweetened pineapple juice instead of water for the first 24–48 hours instantly creates an acidic environment. This bypasses the days-long struggle against Leuconostoc bacteria and can shave 1–2 days off the process.
7. Why do I have to discard half the starter every time I feed it?
Discarding is essential for acidity management and food ratios. If you don’t discard, the acidity of the culture will become too high, eventually weakening the gluten network. Furthermore, to maintain a healthy 1:1:1 feeding ratio without discarding, you would need exponentially more flour every day. Discarding keeps the colony size manageable and the food supply abundant.
8. What is the best temperature for a 72-hour sourdough starter?
Temperature is the gas pedal for fermentation. For a rapid start, you must maintain an ambient temperature between 78–82°F (25–28°C). If your kitchen is Below 72°F (22°C), the yeast becomes sluggish, and the timeline will stretch to a week or more.
A properly structured 72 hour sourdough starter eliminates the unpredictable waiting period that causes most beginners to quit. When starter strength, fermentation timing, and temperature control are combined into a clear system, you can move from novice to artisan in days — not weeks.
If you are ready for a reliable baking schedule, explore the complete 7-Day Sourdough Mastery System and move from starter to artisan loaf in one structured week.