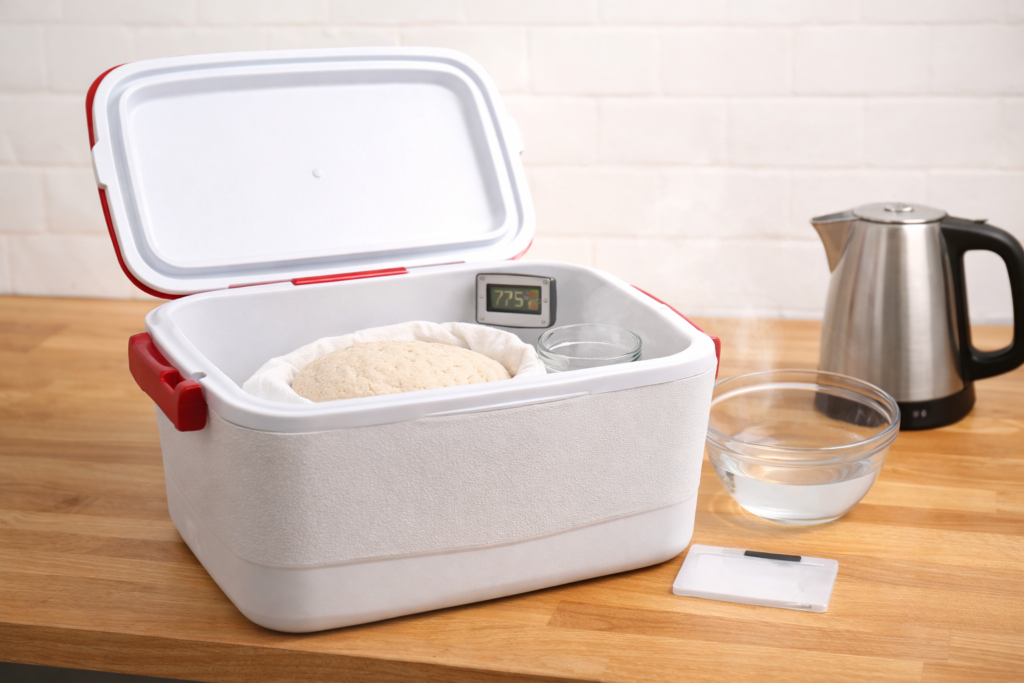
If you’re not ready to buy a proofing box, you can create a simple DIY fermentation chamber using a small cooler and hot water.
Quick Answer: Does the Cooler Method Work?
Yes, a cooler proofing box can stabilize temperature better than open air, but it still requires monitoring and occasional adjustments.
What You Need
- Small insulated cooler
- Bowl or jar of hot water
- Thermometer (recommended)
- Dough container
Insulation is what makes this method more stable than the oven-light approach.
How to Build a DIY Proofing Box
- Pre-warm the cooler with warm water for 5–10 minutes.
- Place dough inside.
- Add a jar of hot (not boiling) water beside it.
- Close the lid and monitor temperature.
- Refresh warm water as needed.
Ideal dough temperature for sourdough is typically 74–78°F.
Pros and Cons of the Cooler Method
Pros
- inexpensive
- better than room temperature
- portable
Cons
- requires checking
- temperature drifts
- not ideal for overnight fermentation
Whatever temperature your DIY proofing box holds, the bulk fermentation chart will tell you the correct rise percentage to aim for at that temperature — and how long to expect the bulk stage to take.
Other Budget Options
See additional cheap alternatives to the Brod & Taylor proofer if you’re comparing low-cost solutions.
When to Upgrade
If you bake frequently or want repeatable timing without constant monitoring, a controlled proofing environment becomes worth considering.