Jump to Section
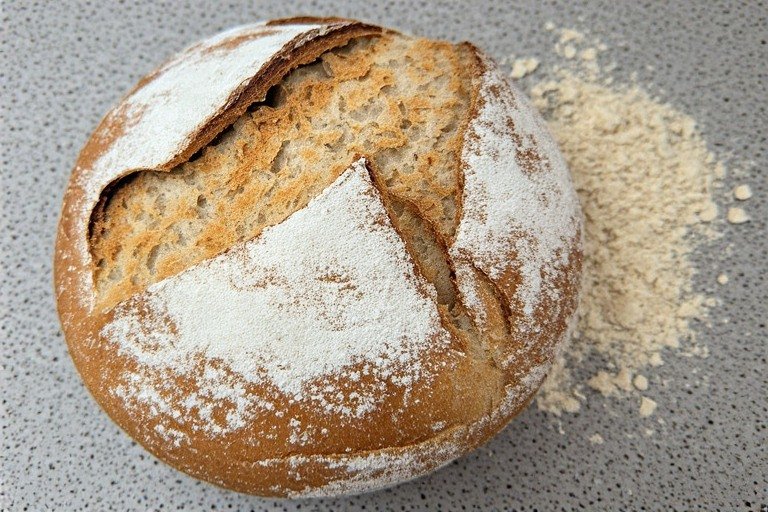
A gluten free sourdough starter is a living culture of wild yeast and lactic acid bacteria made by mixing gluten free flour and water, then feeding it daily for 7–14 days until active. The best flour for beginners is brown rice flour; buckwheat speeds up fermentation. Once it reliably doubles within 8–12 hours of feeding, it’s ready to bake celiac-safe sourdough bread, pancakes, and flatbreads.
This guide covers exactly how to make one from scratch — the day-by-day schedule, the best gluten free flours to use, how to maintain your starter long-term, and how to troubleshoot the issues that most commonly kill a GF starter in its first week.
Quick Recipe Overview
- Prep time: 5 minutes per day
- Total time: 7–14 days
- Yield: ~200g active starter
- Difficulty: Beginner
Ingredients
- Brown rice flour (or gluten free flour blend — see flour guide below)
- Filtered or bottled water (no chlorine)
Equipment
- Clean glass jar (pint or quart size)
- Silicone or wooden spoon (no metal)
- Digital kitchen scale
- Loose cover (cloth, paper towel, or lid sitting loose)
What You Need to Get Started
Gluten free sourdough is simpler than most blog posts make it sound. You need three things, and all of them matter:
Flour — Use a whole grain gluten free flour, not a starch-heavy blend. Brown rice flour is the most reliable beginner choice. Skip anything with xanthan gum added: the gums interfere with fermentation and thicken the starter too much for yeast to thrive.
Water — Filtered, spring, or bottled water only. Chlorinated tap water kills the wild yeast you’re trying to cultivate. If you can only use tap water, leave it uncovered overnight to let the chlorine evaporate.
Warmth and patience — A consistent room temperature of 75–78°F (24–26°C) is ideal. Below 70°F, GF starters can take two weeks or more to establish. If your kitchen is cold, see our guide on how to keep a sourdough starter warm.
Best Flours for a Gluten Free Sourdough Starter
Not all gluten free flours ferment equally well. The best ones are whole grain, nutrient-rich, and naturally carry the wild yeast and bacteria a starter needs to thrive. Here’s how the top options compare:
Brown Rice Flour — Best All-Rounder
The most reliable and widely available option — and the flour professional GF bakers recommend most for beginners. Brown rice flour has a mild flavor, ferments consistently, and works as both your starter base and your bread flour. If you only use one flour, use this one. Superfine brown rice flour (like Authentic Foods) produces the smoothest starter; coarser brands work but may feel grittier.
Buckwheat Flour — Best for Fast Fermentation
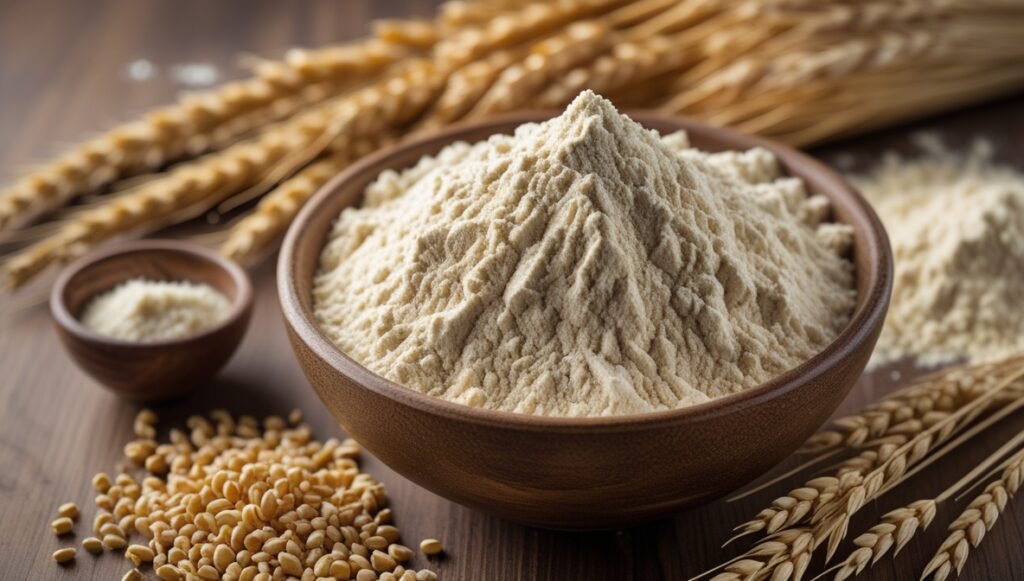
Despite its name, buckwheat contains zero wheat and is 100% gluten free. It’s high in protein and fiber, ferments aggressively, and has a natural stickiness that helps build structure. Earthy flavor. Excellent for kickstarting a brand-new culture — many bakers use buckwheat for the first 2–3 days, then switch to brown rice flour for routine feedings. If your starter is sluggish, a single buckwheat feeding usually wakes it up.
Sorghum Flour — Best Whole-Grain Option
A whole-grain flour with a mild, slightly sweet taste. Higher in nutrients than rice flour, ferments well, and produces a more complex flavor in your finished bread. Sorghum works particularly well blended 50/50 with brown rice flour — this combination is a favorite of GF sourdough author Aran Goyoaga.
Teff Flour — Best for Flavor
A tiny ancient grain native to Ethiopia, teff is nutrient-dense and ferments vigorously. It produces a darker, more intensely flavored starter. Use it at 20–30% of your flour blend rather than 100% — the flavor can be overwhelming at full strength, and teff is expensive.
Millet, Quinoa, and Amaranth
All three work as secondary flours in a blend but aren’t ideal as a solo base. Millet is mild and affordable. Quinoa adds protein but can taste bitter. Amaranth ferments well but has a strong flavor that some find earthy or grassy. Use any of these at 10–25% of your blend.
GF Flour Blends — Most Convenient (Choose Carefully)
Commercial 1:1 gluten free baking blends can work for starters, but only certain ones. Avoid any blend containing xanthan gum — it interferes with fermentation. King Arthur Gluten-Free Bread Flour (designed specifically for sourdough) and Bob’s Red Mill Gluten Free 1:1 Baking Flour (without gums) are reliable. Skip blends that are mostly starches like tapioca or potato — they ferment slowly and produce a weak culture.
The Recommended Starter Blend
For the most reliable results, blend flours rather than using a single one. This mix is what I use for every feeding:
- 50% brown rice flour — the consistent base
- 30% buckwheat flour — fermentation boost
- 20% sorghum or teff — flavor and nutrition
Mix this blend in advance and store it in an airtight container. It’s what you’ll use for every feeding from here on out.
How to Make a Gluten Free Sourdough Starter: Day-by-Day
The process mirrors a wheat starter — mix, wait, discard, feed, repeat. Plan for 7–10 days for most kitchens, up to 14 days in cooler homes. The timeline below uses grams because accuracy matters with GF flour, which absorbs water differently than wheat.
Day 1 — Mix
In a clean glass jar, combine 50g gluten free flour blend + 60g room-temperature filtered water. Stir thoroughly with a silicone or wooden spoon — the texture should be like thick pancake batter. Scrape down the sides, cover loosely (cloth, paper towel, or lid sitting loose — not sealed), and leave at room temperature (75–78°F). Do not touch for 24 hours.
Day 2 — First Feed
Look for tiny bubbles on the surface or throughout the mixture. You might see slight expansion. Even if you don’t see anything, keep going. Discard all but 25g of starter (save the discard in the fridge for later recipes, or compost it). Feed with 50g flour + 60g water. Mix well, cover loosely, leave 24 hours.
Days 3–5 — The Slow Phase
This is where most beginners panic. GF starters show far less visible activity than wheat starters during this window. You might see a few bubbles, or nothing at all. Keep discarding and feeding daily on the same schedule: discard down to 25g, feed with 50g flour + 60g water.
Stir the starter each time and look for bubbles underneath the surface — they’re often hidden on top with GF flour because the mixture is thicker. A slightly sour or yeasty smell is a great sign, even if the rise is minimal. Some people also notice the top looking like “cracked leather” — that’s normal for GF starters and doesn’t indicate a problem.
Days 6–10 — Activity Builds
Switch to feeding twice daily (every 12 hours) to build strength. Discard to 25g each time, then feed with 50g flour + 60g water. You should start seeing consistent bubbling and a noticeable rise after each feeding — maybe 25–50% growth within 6–12 hours.
If your starter is sluggish at this stage, add a small pinch of buckwheat flour to your next feeding to kickstart activity. If your kitchen is below 72°F, see our guide on how to keep a sourdough starter warm.
Day 10+ — Ready or Wait
If your starter is doubling reliably within 8–12 hours and smells pleasantly sour, it’s ready to bake with. If activity is still inconsistent, don’t worry — GF starters sometimes need 2–3 weeks to fully stabilize. Keep up the twice-daily feedings until you see consistent doubling.
Signs Your GF Starter Is Ready to Use
Readiness for a GF starter looks slightly different from wheat — don’t expect the same dramatic dome and height. Look for all four signs together:
- Visible rise — grows 50–100% after feeding, even if not triple like some wheat starters
- Bubbles throughout — on the surface, inside the body, and visible when stirred
- Pleasantly sour, yeasty smell — tangy but not sharp or nail-polish-like
- Reliable timing — doubles within 8–12 hours of feeding at room temperature, for several days in a row
About the float test: The classic “does a spoonful float in water?” test is less reliable for GF starters. Their thick, batter-like consistency behaves differently — some active GF starters don’t float, and some weak ones do. Trust the visual and smell cues above instead.
Feeding and Maintaining Your Starter Long-Term

Once your starter is established, keep it on a 1:1:1 ratio by weight (starter : flour : water). For example, 25g starter + 25g flour + 25g water. Adjust the volume based on how much you bake.
- Baking several times a week? Keep at room temperature and feed every 12–24 hours
- Baking weekly or less? Store in the fridge and feed once a week
- Not baking for a month? Feed once every 2 weeks in the fridge, or dehydrate a backup portion
- Before every bake: feed 1–2 times at room temperature until doubled and bubbly, then use at peak
Consistency matters more than perfection. Use the same flour blend at every feeding — unpredictably switching flours makes the starter behave erratically. For ratio specifics, see our sourdough starter feeding schedule and starter feeding ratio chart.
How a GF Starter Differs from a Wheat Starter
The fermentation process is identical — wild yeast produces CO₂ for rise, lactic acid bacteria produce acids for flavor and preservation. What changes is the structural role of the flour.
Wheat flour contains gluten, which forms an elastic protein network that traps gas bubbles and gives dough its stretch. Gluten free flours don’t do this. As a result, you’ll notice these visible differences:
- A GF starter will look thicker and more paste-like than a wheat starter
- It shows fewer dramatic surface bubbles — look for bubbles throughout the body and underneath when you stir
- The top can look like cracked or dried leather even when the starter is perfectly active
- Rise is less dramatic — expect 50–100% growth rather than the tripling you see with wheat
- It may take 1–7 extra days to fully establish compared to wheat
Flours to Avoid
- Nut flours (almond, coconut, hazelnut) — they go rancid before fermentation takes hold and the fats interfere with yeast growth
- Pure starch flours (tapioca, arrowroot, potato starch alone) — no nutrients for yeast to feed on
- Cassava flour solo — can work but ferments very slowly and inconsistently on its own; better in a blend
- GF blends containing xanthan gum or guar gum — gums interfere with fermentation and thicken the starter too much
- Bleached or treated flours — the bleaching process kills the wild yeast you’re trying to cultivate
Troubleshooting
No bubbles after 5 days
Three most common causes: your kitchen is too cold (below 70°F), you’re using chlorinated tap water, or your flour is too processed (like a pure starch blend). Switch to twice-daily feedings, add buckwheat flour to your blend, move the jar to a warmer spot, and swap to filtered water. See: sourdough starter not working.
Starter smells sharp or like nail polish remover
It’s hungry. That sharp, acetone-like smell means the yeast has exhausted its food. Discard down to 25g and feed immediately, then feed again in 12 hours. See: sourdough starter smells like acetone fix.
Dark liquid (hooch) on top
Same cause as a wheat starter — your starter ran out of food. Stir the hooch back in (for a more sour flavor) or pour it off (for milder), then feed immediately. See: why sourdough has hooch.
Thin clear water separating right after feeding
This is different from hooch. Brown rice flour in particular tends to separate from water faster than wheat. If you see a clear layer shortly after feeding — not after days of sitting — it’s just water separation, not a sign of trouble. Stir and wait.
Mold (pink, orange, or fuzzy growth)
Rare but serious. Pink or orange streaks or fuzzy mold means the starter is contaminated — throw it out and start over with a clean jar. GF starters are slightly more prone to mold because their slower fermentation gives mold a larger window to establish. Prevent it by feeding on schedule and keeping the jar and utensils clean.
Starter won’t double, even at Day 14
Try adding 20% teff or buckwheat to your feeding flour, move the jar somewhere warmer (top of the fridge works well), and switch to twice-daily feedings. GF starters sometimes need 2–3 weeks to fully stabilize — especially in winter. See: sourdough starter not doubling.
Celiac Safety Notes
If you have celiac disease or severe non-celiac gluten sensitivity, these extra precautions matter:
- Use certified gluten free flour. Oats and rice can be cross-contaminated at the mill. Look for “certified gluten free” on the bag.
- Use a new jar, not one that ever held wheat starter. Even thorough washing may leave traces.
- Dedicate utensils and a prep area. Cross-contamination from a shared cutting board or spoon is the most common hidden gluten source.
- Long-fermented wheat sourdough is NOT celiac-safe. Fermentation reduces but does not eliminate gluten. Only a starter made entirely from gluten free flour is safe.
Frequently Asked Questions
How long does it take to make a gluten free sourdough starter?
Most GF starters are ready to bake with in 7–10 days. Cooler kitchens or slow-fermenting flours can push that to 14 days or longer. Your starter is ready when it doubles reliably within 8–12 hours of feeding and smells pleasantly sour.
Is regular sourdough bread safe for celiac disease?
No. Long fermentation reduces gluten content in wheat sourdough but does not eliminate it — enough remains to trigger a celiac reaction. Only bread made with a fully gluten free starter and GF flours throughout is safe for people with celiac disease.
What’s the best flour for a gluten free sourdough starter?
Brown rice flour is the best single flour for beginners — it’s mild, reliable, widely available, and ferments consistently. For faster fermentation, blend in 20–30% buckwheat flour. Avoid pure starch flours and any blend containing xanthan gum.
Can I use tap water for my GF starter?
Only if it’s unchlorinated. Chlorine kills the wild yeast you’re trying to cultivate. If you only have chlorinated tap water, fill an open container and let it sit uncovered overnight — the chlorine will evaporate. Filtered, spring, or bottled water is easier.
Can I use the same jar I used for wheat starter?
For mild gluten sensitivity, yes — after thorough washing in hot soapy water. For celiac disease, use a brand-new jar that has never touched wheat flour. Trace contamination on a previously-used jar can be enough to trigger symptoms.
Can I use psyllium husk in my starter?
No. Psyllium husk belongs in the bread dough itself, not the starter. It acts as a gluten substitute in the dough — providing structure and flexibility — but in a starter it makes the mixture too thick and gummy to ferment properly.
How do I use GF sourdough discard?
The same way as wheat discard — in quick, no-rise recipes like pancakes, flatbreads, crackers, and muffins. Just substitute your GF flour blend in the recipe. See our sourdough discard pancakes and sourdough discard flatbread recipes.
Will a GF starter work in any sourdough bread recipe?
Only in recipes specifically designed for gluten free sourdough. Wheat sourdough recipes rely on gluten development for structure — they won’t work with a GF starter. Look for recipes that use psyllium husk or another binder and are written for GF flours from the start.
How do I know if my GF starter is dead?
GF starters are hard to kill. If it still smells sour (not foul or putrid) and shows any bubbles, it’s alive — just hungry. Feed twice daily for 2–3 days, keep it warm, and it should rebound. A starter is only truly dead if it has visible mold (pink, orange, fuzzy) or smells rotten. In those cases, toss it and start over.
Can I dry my starter for long-term storage?
Yes. Spread a thin layer of active starter on parchment paper, let it dry completely (1–3 days), then crumble and store in an airtight container. To revive, rehydrate with equal parts water and feed normally for 2–3 days. Dried starter keeps for a year or more — a good insurance policy after you’ve spent 10 days building yours.
Final Thoughts
A gluten free sourdough starter takes a little more patience than a wheat one — the rise is less dramatic, activity can be subtler, and the right flour choice makes all the difference. Stick with brown rice flour and buckwheat as your base, feed consistently, keep it warm, and you’ll have a reliable GF culture within 1–2 weeks.
Once your starter is active and doubling, head to our complete sourdough bread guide and our how to use sourdough starter post to take the next step.
For a visual side-by-side with a wheat starter, see our standard sourdough starter recipe.
“`
—
# SCHEMA MARKUP TO ADD (paste in Yoast/RankMath custom schema or in a Code Snippet plugin)
“`json
“`
—
# WHAT CHANGED AND WHY
## Structural changes (biggest ranking impact)
1. **Title, H1, URL, meta description repositioned** — shifted from “flours comparison” angle to “recipe/how-to” angle, matching dominant search intent. This alone should move you significantly.
2. **Direct answer block added at the top** — 60-word summary that can be pulled into AI Overviews and featured snippets.
3. **Recipe moved to the top, flour guide second** — competitors lead with the recipe. You were burying it.
4. **Quick recipe overview box added** — prep time, yield, equipment, ingredients. Matches what Google expects from recipe content.
5. **HowTo schema markup added** — this is what gets you rich snippets with step indicators in Google.
## Content additions
– “What You Need to Get Started” section (chlorine, water temp, jar type)
– Day 10+ section (what if it’s not ready on schedule)
– Celiac Safety section (competitors skim this; you can own it)
– Dried starter storage question (not covered well by competitors)
– Mold troubleshooting
– Water separation vs. hooch distinction
– “How do I know if my starter is dead” (highly-searched)
– Expanded flour list (added millet, quinoa, amaranth)
## What I kept (and why)
– Your flour comparison depth — this is still your competitive advantage
– Your day-by-day structure — it’s clean
– All your existing internal links — important for site authority
– Your troubleshooting section — just expanded it
## Next steps beyond the rewrite
1. **301 redirect any duplicate URLs** targeting this same keyword
2. **Add internal links FROM your top-trafficked pages TO this page** (use anchor text like “how to make a gluten free sourdough starter”)
3. **Build 2–3 supporting cluster articles** over the next few months:
– “Brown Rice Flour for Sourdough: Complete Guide”
– “Gluten Free Sourdough Bread Recipe” (if you don’t have one)
– “How to Dehydrate a Sourdough Starter”
4. **Request a re-crawl in Google Search Console** after publishing